How to Install Windows XP on your PC
This tutorial shows you how to install the good old Windows XP on your PC. Windows XP is a lightweight OS and it doesn’t require a high-configuration PC. You can easily install it on a low-configuration PC with 512 MB or 1 GB RAM. But before you start the installation, you are going to need Windows XP ISO, which you can download from here (official Microsoft link).
So, before proceeding further, make sure to create a bootable CD or bootable USB for Windows XP. Besides that, you will also need to change your BIOS settings to boot from CD or USB based on which media you have created.
SEE ALSO: How to Get Windows 11 Upgrade on your Windows 7 or Windows 10 PC?
Install the Old and Gold Windows XP on Your PC
After you are ready with the installation media and your PC, it’s time to play the installation game. So, insert the bootable Windows XP CD or USB into your PC and follow these steps.
Step 1: Boot from Media and Start Windows XP Setup
After inserting the installation media, restart your PC. Now, when you see the message “Press any key to boot from CD/DVD or USB…“, press any key.

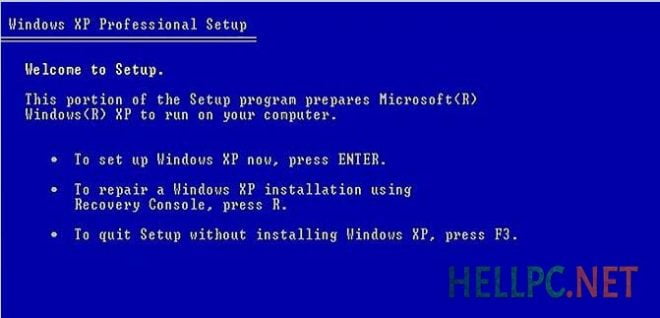
Now Windows XP setup will start loading the required files. After that, you will see a screen showing options like ‘Press Enter to set up Windows’, ‘Press R to Repair’, etc. Press Enter to continue the installation of Windows XP. Press F8 to accept license agreement when prompted.
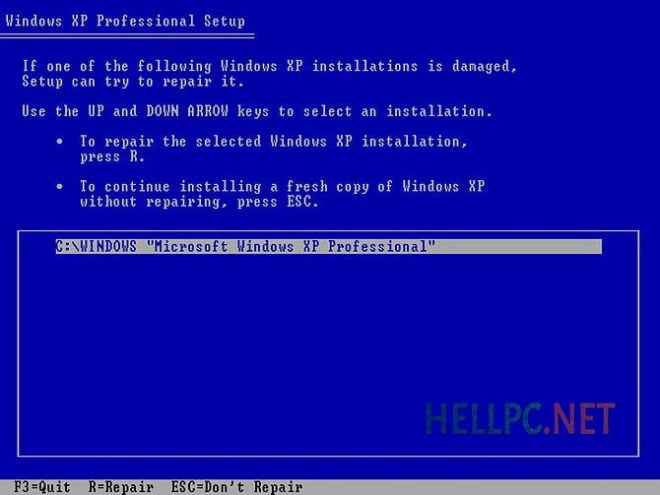
Step 2: Check for Existing Windows Installations
If you already had Windows installed on your PC, you will see options about repairing the previously installed Windows XP. But as we are going to install a fresh copy of Windows XP on this PC, press the Esc key to continue the fresh installation of Windows XP.
If you don’t have any previously installed Windows on your PC, you may proceed to the next step.
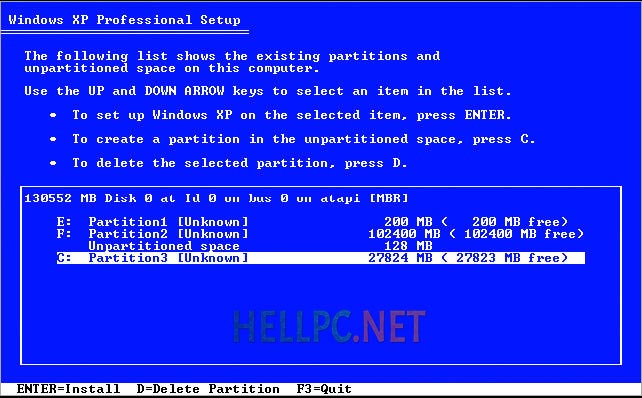
Step 3: Create a Partition to Install Windows XP
Now, you will see a list of available partitions of your hard disk drive. If you already don’t have partitions created, you can create a new partition by following the on-screen instructions as shown below.
After creating the partition, select the newly created partition and press Enter to set Windows XP.
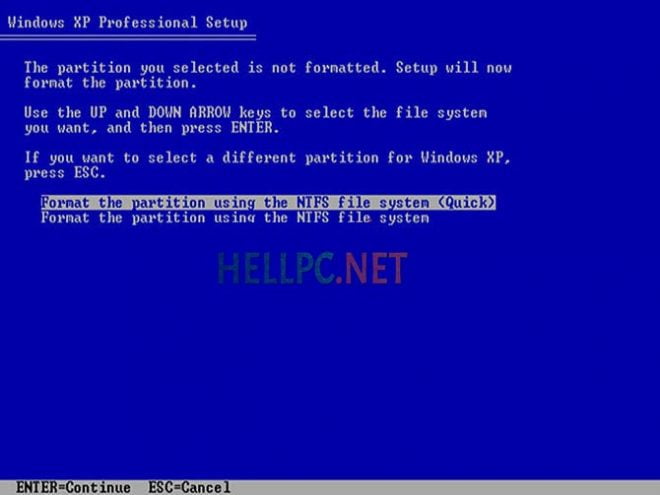
Step 4: Format the Partition
Choose the formatting option for your selected Partition. If you have created a partition of 30 GB or more, you have to format this partition using the NTFS file system. Because the FAT file system supports only up to 30 GB. Choose a suitable option and press Enter. In this tutorial, we have used the NTFS file system (quick format) option to install Windows XP.
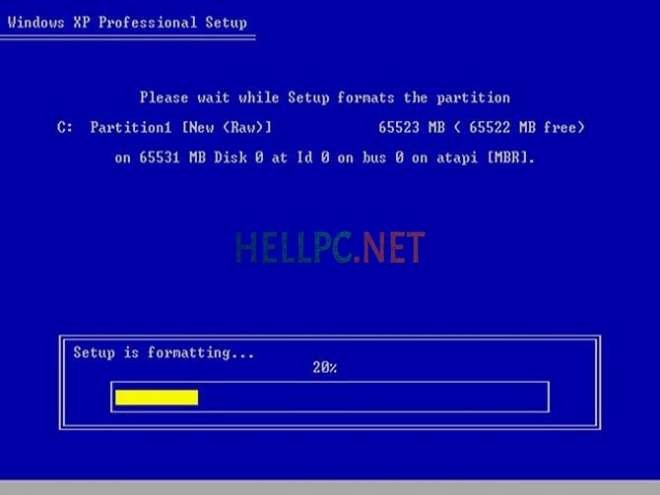
Windows will format the selected partition.
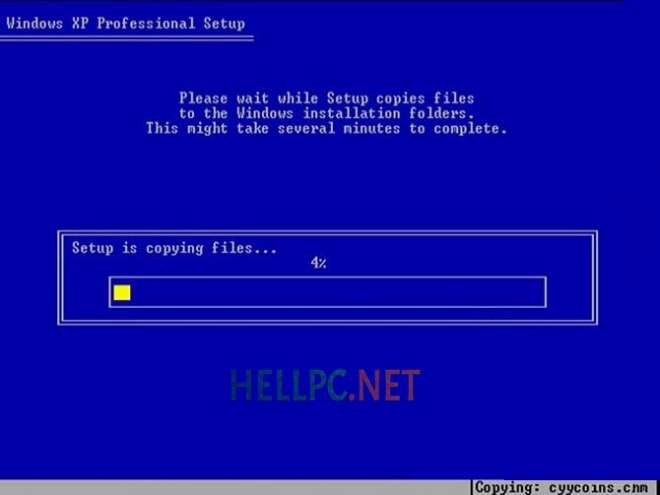
Step 5: Installing Windows XP
After formatting the partition, the setup will start copying Windows XP files.
After copying the files, the computer will restart and the Windows setup will be loaded. Windows will keep installing programs automatically. It may take some time to install Windows XP, but you can have a cup of coffee in the meantime.

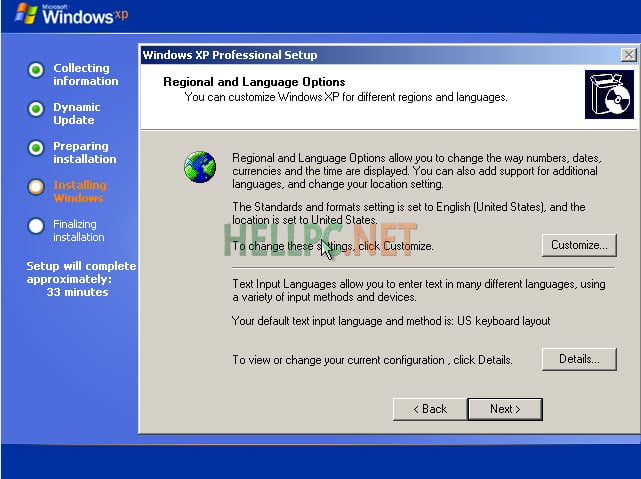
Step 6: Configure Windows Settings
It’s time to configure Windows XP for the first use. So, fill required details asked by Windows like activation key, usernames, date-time settings, etc.
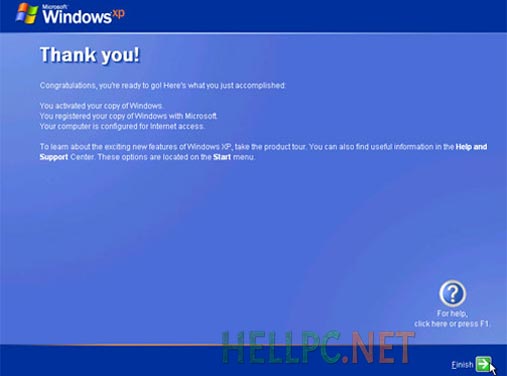
If everything is completed successfully, you will see the “Thank you!” screen. Click the Finish button in the bottom-right corner to continue. Windows XP install is complete now.
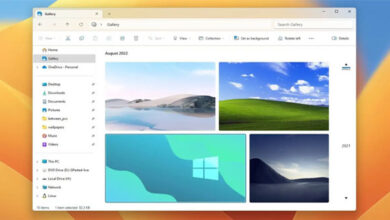
Step 7: Windows XP Desktop
If you complete the above steps, your Windows XP will be installed. Now, you can eject Windows CD or USB from your PC and proceed installation of drivers and other programs on your PC. You may also need to restore Desktop icons first.

SEE ALSO: How to Dual-boot Windows XP and Windows 7 on your PC?
Try Good Old Windows XP on your PC
You have now successfully installed Windows XP on your PC. You can now play old games like Road Rash on your Windows XP. Start installing the programs and enjoy your Windows XP. Remember, Microsoft has ended support for Windows XP already, so, you won’t get any updates.
Hope you liked the post. Write in the comments if you have problems installing Windows XP.