How to Create Bootable Windows Disc (CD/DVD) using ImgBurn
This tutorial shows you how to create a bootable Windows Installation Disc using ImgBurn. ImgBurn itself has nothing to make a disk bootable so we will use a bootable ISO file to make a bootable Windows Disc using ImgBurn. To follow this tutorial you must have a bootable Windows ISO file. You can download Windows ISO files from the official website.
You must have the CD/DVD disk drive on your PC (Most of the computers already have DVD drives installed). Another thing that you will require is a CD/DVD burning tool. In this tutorial, we are using ImgBurn as the CD/DVD burning tool. You can use another tool if you wish. You can download ImgBurn from here.
INFO: The latest Windows 10 and Windows 11 ISO’s are too big to be burned to a regular DVD-R. We suggest you use a Dual Layer (DL) DVD disc.
SEE ALSO: How to Burn ISO to Disc in Windows without any Software?
Create a Bootable Windows Installation Disc using ImgBurn
Follow these steps to create a Windows installation disc using the ImgBurn tool.
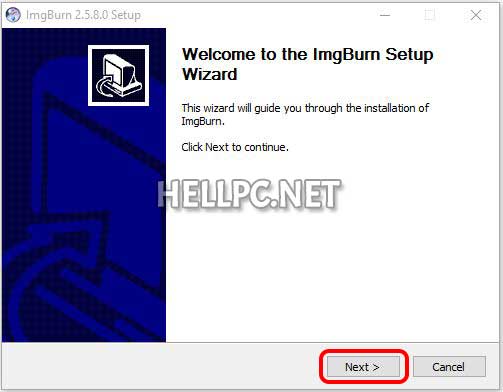
Step 1: Install ImgBurn on your PC
Download ImgBurn from the link given above and install ImgBurn software. Double-click the downloaded file and press Next.
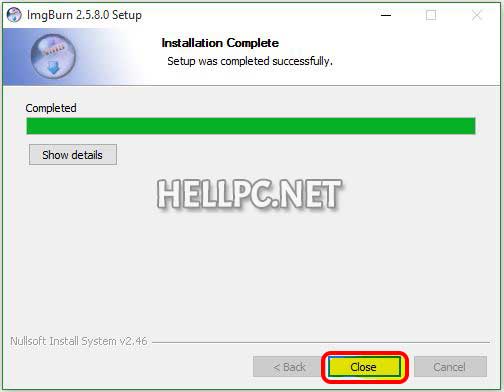
Follow the on-screen instructions to install ImgBurn on your computer-
Step 2: Select the ‘Write image file to disc‘ Option
Now Installation is complete. You will see the ImgBurn icon on the desktop, double-click this icon to start the ImgBurn tool-
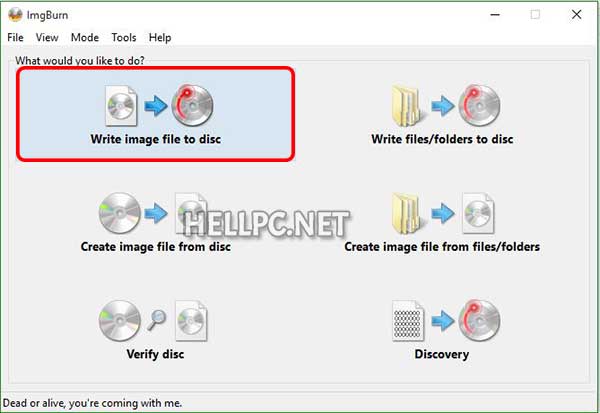
Click on the “Write image file to disc” to start making a bootable Windows installation disc using ImgBurn.
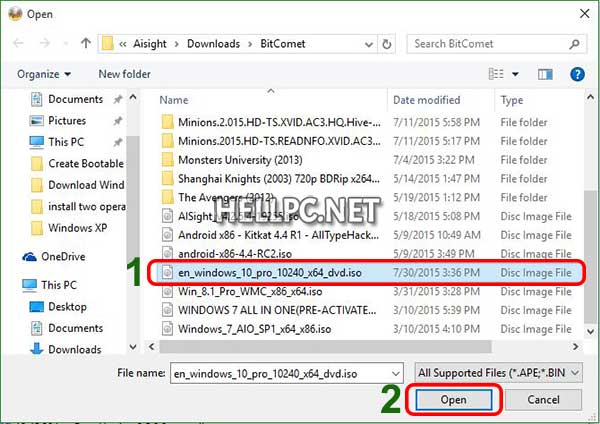
Step 3: Select the ISO file to Burn
Click the folder icon next to Source, to select the Windows bootable ISO file. Also, insert a blank CD/DVD depending on the size of your ISO image. If you are burning a disc for Windows XP, you would need a CD disc and if you are burning a disc for Windows 7 or higher, you are going to need a DVD disc.
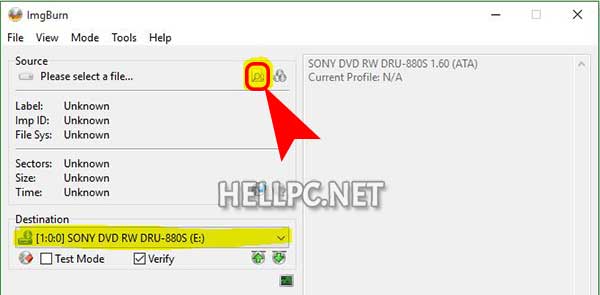
Now, browse to the folder where you have the ISO file and select it. After that, click the Open button.
After inserting Blank CD/DVD, ImgBurn is ready to burn the bootable Windows ISO file to the CD/DVD disc. Click on the ![]() icon to start the burning process.
icon to start the burning process.
Step 4: Burn ISO and Create a Bootable Windows Disc
After you click on the ![]() icon, the burning process will start. ImgBurn will start creating a bootable Windows installation CD/DVD disk.
icon, the burning process will start. ImgBurn will start creating a bootable Windows installation CD/DVD disk.
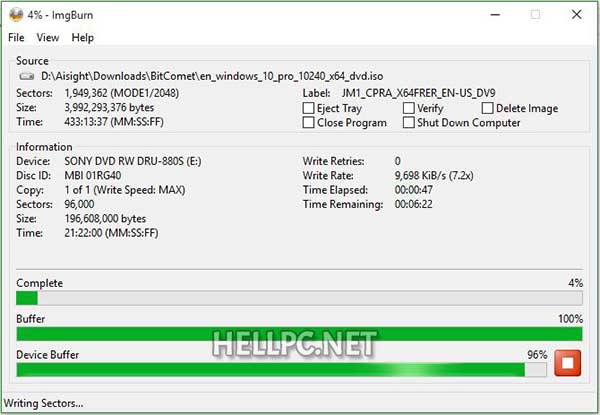
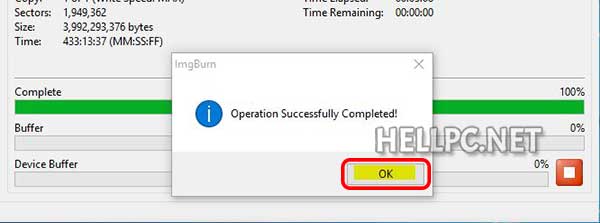
This process is going to take some time depending upon the size of the Windows bootable ISO file and the burning speed of your CD/DVD RW drive. After successful completion of the burning process, you will see a success message, click OK to continue.
SEE ALSO: How to Burn Disc using CMD in Windows 10 or 11?
Make Bootable Windows Disc using ImgBurn
Now you have successfully created a bootable Windows installation disk using ImgBurn and is ready to be used. You can install or reinstall Windows using this bootable Windows Installation disk. You also need to set up your BIOS to boot from CD/DVD. Should you face a problem, feel free to comment.


This article is somewhat disinformation. It doesn’t teach you how to make a “bootable image” to disc. What it does it tell you how to take an “already bootable” image and burn it.
Thanks for the great walkthrough.
With the latest Windows 10 ISO’s, it’s too big to be burned to a regular DVD-R. Instead, you’ll need a Dual Layer (DL) DVD disc.
Maybe put a warning / alert at the top of the article so that people are aware of this.
Thanks Mike. A note has been added to the article.